How to save articles to Notion
A practical walkthrough: designing a read-later database that's actually usable, creating the free integration token third-party clippers need, and getting full article content in rather than a headline and a link.
First, decide what you're saving into
Most unhappy Notion clipping setups fail here, not at the clipping step. If every article lands as a loose page in your sidebar, you've built a pile, not a library. Create a database first.
In Notion, make a new page, type /table and choose Table — Full page. Then add properties you will genuinely use:
- Name (title) — already there; this becomes the article headline.
- URL (type: URL) — so you can get back to the source.
- Status (select: Inbox, Reading, Done, Reference) — the single most useful property. Without it everything stays equally urgent forever.
- Tags (multi-select) — keep this coarse. Five to ten tags you can remember, not forty.
- Clipped (date) — useful for “what did I save last month” views.
Resist adding a dozen more. Every property is a decision you'll make at clip time, and the cost of a slow clip is that you stop clipping.
Three ways to get an article in
Option A: copy and paste
Select the article, copy, paste into a new row's page. Notion's paste handling is better than people expect — headings and lists usually survive. Tables and code blocks usually don't, and you lose the URL and any properties unless you fill them by hand. Fine for one article, miserable as a habit.
Option B: the official Notion Web Clipper
Install it, sign in once, click the icon. Zero setup, works in Chrome, Firefox, Safari and the mobile share sheet. This is the right starting point for most people, and if your clips arrive complete you are done — close this page.
It has known limits worth knowing before you build a workflow on it: it can't fill database properties at clip time, and extraction on structured pages is inconsistent. In 202 public Chrome Web Store reviews rated three stars or lower, 40 describe wrong or partial extraction and 18 ask specifically for property prefill (measured Sept 2026).
Option C: a third-party clipper with an integration token
Extensions that aren't built by Notion can't borrow your login session. They talk to Notion's public API, which means you create a credential and hand it over. That's the setup below. It takes about five minutes once.
Setting up a Notion integration token
This is the step people get stuck on, so here it is in full. The token is free, it's created inside your own Notion account, and it grants access only to pages you explicitly share with it.
-
Open Notion's integrations page
Go to
notion.so/my-integrationswhile signed in. This is a separate surface from your workspace settings — most people have never seen it. -
Create a new internal integration
Click New integration. Give it a name you'll recognise later (“Clipwise” is fine), and pick the workspace you want to clip into. Choose Internal — public integrations are for distributed OAuth apps and you don't need one.
-
Set capabilities
A clipper needs Read content, Insert content and Update content. It does not need user information beyond the default; leave anything you're unsure about switched off. You can tighten this later and the clipper will tell you if it's missing something.
-
Copy the internal integration secret
It starts with
ntn_(older tokens start withsecret_). Treat it like a password: it's a credential for your workspace. Paste it into your clipper's settings and nowhere else. -
Share your database with the integration
This is the step everyone forgets, and the cause of almost every “my database doesn't show up” problem. Open your read-later database as a full page, click … in the top right, then Connections → Connect to, and pick your integration. Until you do this, the token can see nothing at all — which is the point of the design.
-
Pick the database in your clipper and clip
The database should now appear in the destination list. Select it as your default so you're not choosing it every time.
If the database still doesn't appear: you almost certainly shared a different page, or shared a view embedded inside another page rather than the database's own full page. Open the database by itself — its URL contains the database ID — and connect from there.
Clipping well, not just clipping
Once the plumbing works, a few habits make the difference between a useful archive and a graveyard:
- Select before you clip. If a page is a mess of promos and related-article rails, highlight just the article body first. Selection-based clipping bypasses extraction heuristics entirely, so it's the most reliable path on hostile pages.
- Fix the title at clip time. Headlines are written for click-through, not for finding things later. “The surprising truth about X” is useless in a list of 400 rows; “X: benchmark results, 2026” is not.
- Set Status immediately. Inbox versus Reference is a two-second decision at clip time and a ten-minute archaeology project a month later.
- Use a keyboard shortcut. In Clipwise it's
Ctrl+Shift+S. Any clipper that requires a mouse trip to the toolbar gets used less.
What usually goes wrong with content
Three failure patterns cover most bad clips:
- Only the headline arrives. The extractor picked the wrong container. Select the body text and re-clip.
- Tables become paragraphs. Many clippers have no table handling at all, so a
<table>gets flattened into text. If you clip documentation or data-heavy posts, check this specifically before committing to a tool. - Code blocks lose their language. Cosmetic until you're reading it back; then it matters.
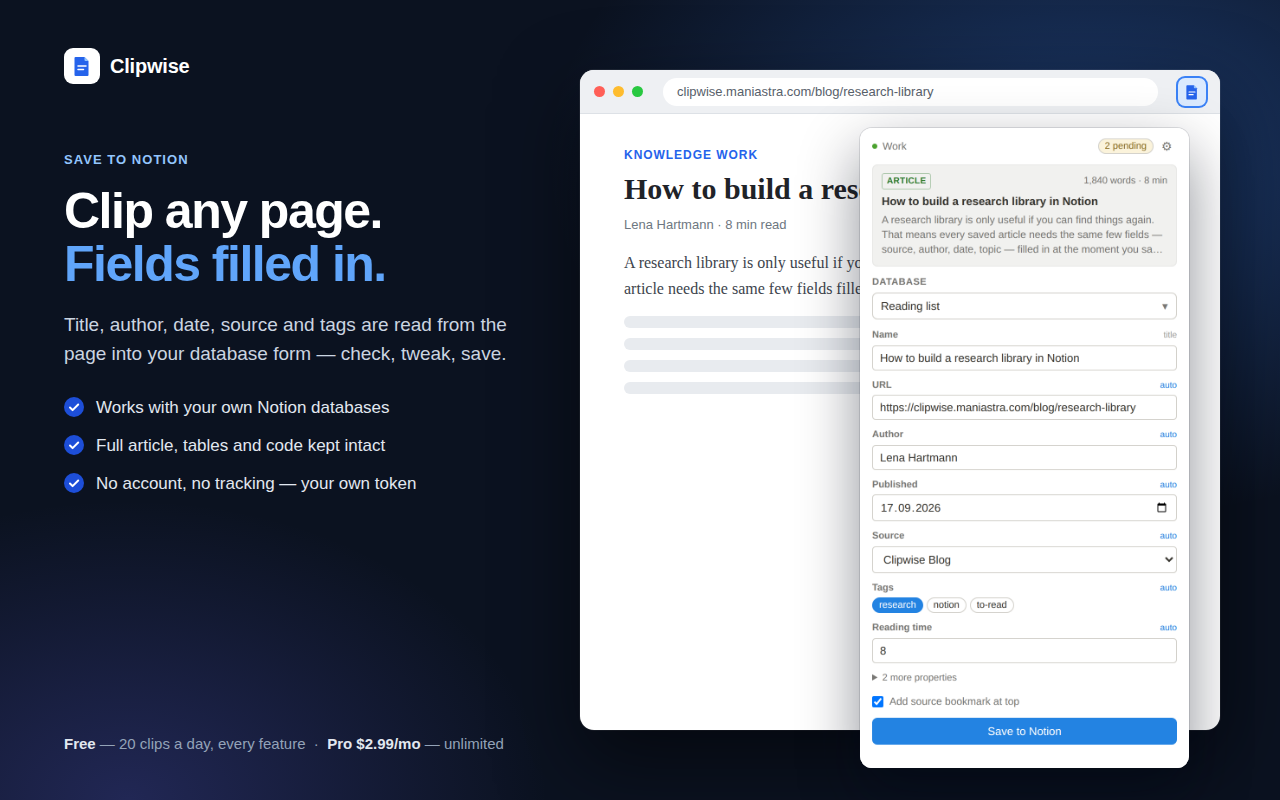
Clipwise was built around these cases: layered extraction with a dedicated table pass, code-block language preserved, figure captions kept, and a local retry queue so a failed save doesn't discard already-extracted content. It's free for 20 clips a day, which is enough to test it against the pages that give you trouble.
Related guides
- Save highlighted text to Notion — quotes and excerpts without the whole page
- Notion Web Clipper not working — troubleshooting the official clipper
- Notion Web Clipper alternative — honest comparison, including where the official one wins